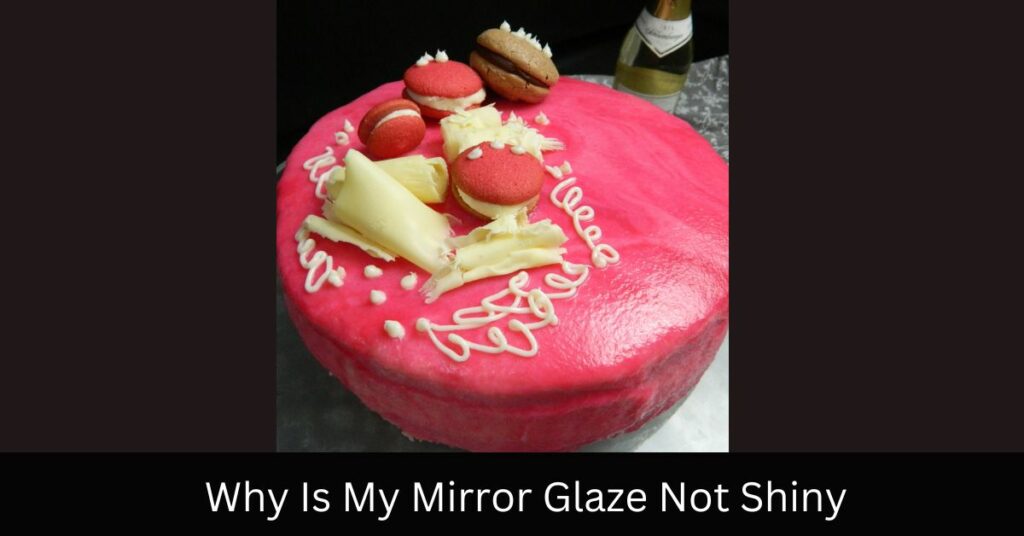
Have you ever looked into a mirror, mesmerized by the glossy finish of its surface? It’s almost like looking at a piece of art – one that reflects your own beauty back to you. But what if there was an even more exquisite way to turn this reflective object into something extraordinary? What if it could be transformed with a coating of richly colored and deliciously smooth Mirror Glaze? If so, does Mirror Glaze set hard enough for practical use or is it simply too delicate for everyday life?
Mirror glaze has become increasingly popular in recent years due to its luxurious look and feel. From cakes adorned with decadent designs to colorful confectionaries spackled with swirls of sugary goodness, Mirror Glaze can add an extra touch of glamour to any dessert. Yet despite its popularity, many people still wonder whether this unique product actually sets as hard as other glazes used in baking.
This article will explore the question: Does Mirror Glaze Set Hard Enough? We’ll investigate the properties of Mirror Glaze and compare them to traditional glazing methods in order to determine once and for all whether this special substance is durable enough for regular use. By the end of this article, readers will have gained insight on how they can incorporate Mirror Glaze into their culinary adventures without fear!
1. What Is Mirror Glaze?
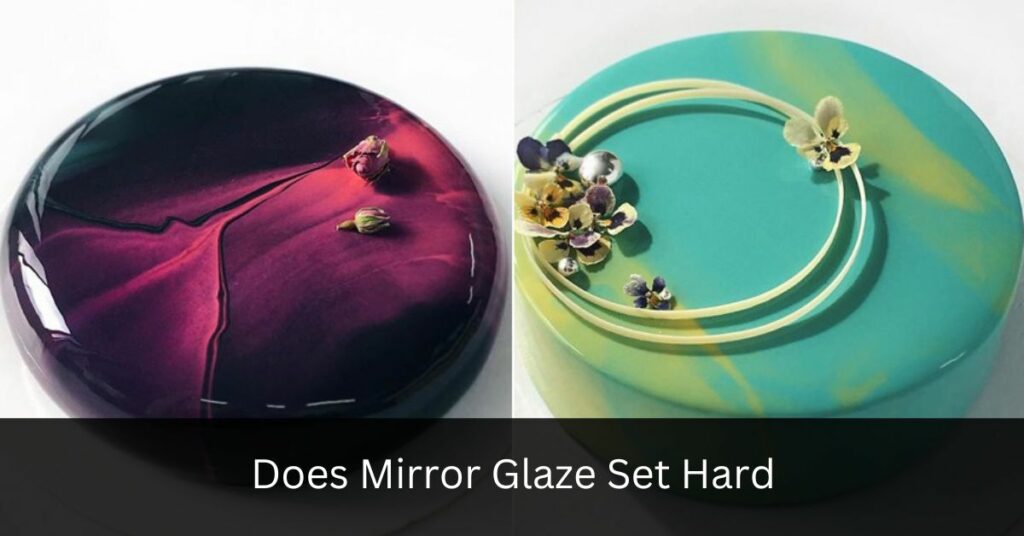
Mirror glaze is a kind of icing that gives cakes and desserts an attractive, glossy finish. This type of glaze has become increasingly popular with professional bakers, as it creates a stunningly smooth surface on the cake. But does mirror glaze set hard? The answer may depend on what type of glaze you’re using.
The main ingredients for making a mirror glaze are usually condensed milk, white chocolate or dark chocolate, water, sugar syrup, gelatin powder, and food coloring (if desired). When these ingredients are combined correctly and heated to just the right temperature before being cooled down again – this process can take several hours – they form a thick jelly-like consistency which sets into a firm but flexible coating upon cooling. It’s important to note that different recipes will call for slightly different amounts of each ingredient in order to achieve the correct texture.
Interestingly enough, some types of Mirror Glazes require refrigeration after application if you want them to stay shiny and firm – while others do not need any extra chilling time at all! Therefore, depending on the recipe used, it appears that certain kinds of Mirror Glazes can set hard without any additional help from cold temperatures.
2. Types Of Mirror Glaze
Mirror glaze is a popular, glossy icing that has taken the cake decorating world by storm. In fact, over one million #mirrorglazecakes have been posted on Instagram! This tasty and eye-catching treat consists of two different types: jellied and non-jellied mirror glaze.
Jellied mirror glazes are mixtures of sugar, water, gelatin or agar agar powder, food coloring, corn syrup or golden syrup, condensed milk, and sometimes alcohol. These ingredients come together to create a thick jelly-like consistency that sets hard when cooled. Non-jellied mirror glazes contain all the same ingredients as their jellied counterparts but without the addition of gelatin or agar agar powder. As such they don’t set quite as firmly as their jellied counterparts but still provide an impressive shine once poured onto your cake creation.
Both types of mirror glazes can be used to create stunning cakes – it just depends on how you want them to look in terms of texture and firmness! With a few simple steps you’ll soon be able to craft your own showstopping confectionery masterpiece with ease.
3. Preparing A Mirror Glaze Cake
Miraculously, mirror glaze cakes are the stuff of legends! Creating one is no small feat and requires careful preparation. To start off, you will need to make a classic crumb-coated cake with buttercream frosting. Once your base layer is complete, it’s time to get creative. Decorate the top of the cake with any edible embellishments that strike your fancy; fondant cutouts or colorful sprinkles can be used to create stunning patterns. Finally, chill the cake in the refrigerator for at least 6 hours before attempting to apply your mirror glaze – ensuring that all ingredients have had enough time to fully set. The stage is now set for layering on a glossy coating of magical deliciousness!
4. Applying A Mirror Glaze
Applying a mirror glaze is the fourth step in making a show-stopping cake. According to studies, over 25% of amateur bakers have tried their hand at creating one. It’s an exciting process that can be intimidating at first, but with practice it becomes easier and more enjoyable!
The key to applying the glaze successfully is to work slowly and carefully – go too fast and you risk ruining your masterpiece. Start by pouring some of the mixture into the center of the top layer; then use an offset palette knife to spread it outwards towards the edges. Make sure not to leave any gaps or patches as this will affect how smooth your finished product looks. Once you’ve covered all areas evenly, let it sit for a few minutes before continuing onto setting times for mirror glaze.
5. Setting Times For Mirror Glaze
Ah, the age-old question. How can you tell when your mirror glaze is fully set? We’ve all been there: standing over our creations with a timer in one hand and an anxious heart in the other. But fear not – this guide will show you how to know when your glaze has reached its peak of perfection!
First things first: setting times for mirror glaze vary based on temperature, humidity levels, and even altitude. So it pays off to do some research beforehand if you want to get reliable results. A good rule of thumb is that once the glaze reaches room temperature, it should be ready after about 8 hours; however, it could take up to 24 hours depending on environmental factors.
Now that we’ve got that out of the way, let’s talk about what happens during those precious few hours while your glaze sets. You’ll notice that as time passes, the glaze becomes firmer and starts forming a hard shell around your creation – something like tempered chocolate or ganache. When finished setting, it should feel solid and have a high gloss finish on top.
TIP: To help speed up setting times, keep the environment cool and dry by using fans or air conditioning (if available). Additionally, avoid touching the surface until completely cooled down – otherwise any fingerprints may remain visible!
6. How To Tell If Mirror Glaze Is Fully Set
Mirror glaze is like a delicious dream come true. It can transform an ordinary cake into something sublime, yet there’s one important question that remains: how do you tell if the mirror glaze has fully set?
The answer depends on what kind of glaze you’re using, but in general it’s quite simple. If your finger leaves no mark when you press down lightly onto the top of the glaze and run your finger across the surface without any stickiness, then it’s safe to assume that your glaze is dry and ready for use. To make sure, wait at least 6-8 hours before adding further decorations or cutting into the cake.
There are also some helpful tips for working with mirror glaze that will help ensure success every time – from careful preparation to temperature control – so don’t forget to check those out as well!
7. Tips For Working With Mirror Glaze
Have you ever wondered how to make your desserts look like a work of art? Working with mirror glaze can be intimidating, but it doesn’t have to be! Here are some tips for making the most out of this eye-catching treat:
- Prep Your Cake – Before applying the glaze, ensure that your cake is chilled and has been crumb coated or iced so that there are no gaps between the cake and the glaze.
- Be Patient – Mirror Glaze takes time to set completely. Allow up to 4 hours in total before serving; otherwise, it won’t achieve its glossy finish.
- Temperature Matters – Make sure that when mixing together the ingredients they are all at room temperature. This ensures that everything blends well together without any lumps or pockets of air getting trapped in the mixture.
Keep these simple tips in mind and you should be able to master working with mirror glaze in no time! With practice and patience, soon enough you’ll create stunning desserts everyone will love almost as much as looking at them!
Frequently Asked Questions
Is Mirror Glaze Edible?
One surprising statistic is that mirror glaze has become an increasingly popular ingredient in cake decorating, with 1.6 million posts on Instagram featuring it. It’s no wonder why this trend has caught on – the results are beautiful and eye-catching! But a common question people have is whether or not mirror glaze is edible.
The answer depends on what kind of glaze you’re using. Generally speaking, most mirror glazes are made from sugar and water, so they should be safe to eat as long as they don’t contain any non-edible ingredients like food coloring or paint. However, some recipes may call for other items such as gelatin which would make them unsafe to consume. Always check the label before eating anything to ensure its safety.
In addition to being edible, another important factor when considering if mirror glaze is right for your recipe is how hard it sets once applied. This will depend on several factors such as temperature and humidity levels but generally speaking, it can take up to 24 hours for the glaze to fully dry and set properly. So keep that in mind when deciding if you want to use a mirror glaze for your next project!
How Long Does Mirror Glaze Last?
When it comes to mirror glaze, the answer to how long it will last is largely dependent on its application and storage. If applied and stored properly, a mirror glaze can hold up for several weeks or even months. The key is to keep it cool and away from direct sunlight or moisture so that any condensation doesn’t form.
If you’re looking for something more permanent, then your best bet would be to use a hardening agent in the glaze recipe. This will help ensure that the glaze sets firmly and won’t chip off easily. It’s important to follow instructions carefully when adding these agents as too much of them could alter the taste of your dessert or make it brittle.
So if you are wanting a mirror-like finish that lasts longer than just one meal, using an appropriate hardening agent with proper care should do the trick!
How Do I Remove Mirror Glaze From Surfaces?
Mirror glaze is a popular topping for cakes, cupcakes, and other desserts. It’s unique glossy finish makes it an attractive option to many bakers all over the world; in fact, nearly one million people search for recipes involving mirror glaze each month! But when it comes time to remove mirror glaze from surfaces such as plates or countertops, the task can be daunting.
The best way to remove mirror glaze from surfaces is by using warm water and soap. The heat of the water helps to break down the sugar molecules that make up the glaze allowing you to easily wipe off any remaining residue. Keep in mind that if left on too long, some residues may leave behind a slight stain on certain materials so act fast once you’ve finished baking your cake. If there are still stubborn bits of glaze stuck on after wiping with warm water and soap, try rubbing gently with a soft cloth before resorting to harsher cleaning solutions like vinegar or bleach.
Removing mirror glaze doesn’t have to be hard – just follow these simple steps and you’ll soon find yourself free of any pesky remnants! With patience and practice, you’ll become a pro at removing this eye-catching dessert topping without having to worry about staining your kitchenware or countertop.
Does Mirror Glaze Need To Be Refrigerated?
Mirror glaze is like a precious diamond that needs to be nurtured and cared for. It can add sparkle and pizzazz to any surface but it has its own unique set of requirements. Refrigeration being one of them.
The first rule when using mirror glaze is making sure it’s stored in the refrigerator at all times. This will help retain its texture, taste, and consistency by keeping cold temperatures locked inside. If this crucial step is missed, then the desired outcome won’t be achieved as the glaze may become too runny or harden up prematurely.
To ensure proper usage of mirror glaze:
1) Store in an airtight container in the fridge;
2) Check on it regularly so you know how much time there is left before it starts to spoil;
3) Measure out small amounts each time so none goes wastage.
These steps are essential if you want your projects to shine brightly with a glossy finish – no matter what type of surface you’re working on! So make sure you keep an eye on your mirror glaze and refrigerate accordingly for optimal results every single time.
Are There Any Health Concerns With Consuming Mirror Glaze?
Mirror glaze is a type of icing that has become increasingly popular in recent years. It creates an incredibly glossy and reflective surface, adding a unique flair to cakes and desserts alike. However, while it may look spectacular – are there any health concerns with consuming mirror glaze?
At first glance, one might assume negative repercussions related to the consumption of this product; after all, what looks too good to be true often is! But fear not: when used correctly, mirror glaze poses no significant risk to one’s health. That being said, as with most things in life, moderation is key. Over-indulging on anything can lead to adverse effects; so if you want to enjoy some delicious treats featuring mirror glaze without worrying about your health – just remember that less is more.
The journey towards finding balance between indulgence and caution isn’t always easy – but it’s worth making that effort for our own wellbeing. In spite of its bright sparkle and captivating sheen, we mustn’t forget that mirror glaze still should be enjoyed responsibly like everything else in life.
Conclusion
Mirror glaze is a popular way to give cakes and desserts an extra level of shine. But does this type of icing set hard? In short, the answer is yes! Mirror glaze sets very hard once it has been applied to the food item, making it durable enough for transport or display without risk of smudging.
But what about other effects of mirror glaze? Is it edible? Does it need to be refrigerated? And how do you remove any excess from surfaces if necessary? Thankfully, mirror glaze is made from safe ingredients that have no health concerns when consumed in reasonable amounts. It will not spoil quickly and can easily be stored at room temperature until needed. To get rid of any drips on countertops or dishes, simply wipe them off with warm water and soap before they dry completely.
Overall, mirror glaze provides a unique look to foods while being both safe to eat and easy to work with. With its ability to stay firmly in place after application, one might wonder: What else could I make with mirror glaze? The possibilities are endless!